
Stuffed chicken breasts are like a blank canvas—yet they’re often overlooked for their versatility and ease. But what if you broke the mold and filled them with something unexpected, like a smoky cheese or spicy sausage? This recipe started as a simple idea and turned into a flavorful, juicy revelation that keeps me coming back.
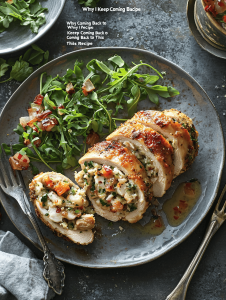
Why I Keep Coming Back to This Recipe
It’s forgiving, full of flavor, and endlessly adaptable. The satisfying texture and bright flavors remind me of comfort with a twist. Every time I make it, I find a new way to tweak the filling or finish, keeping it fresh and exciting.
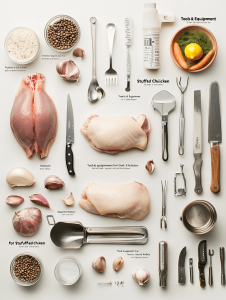
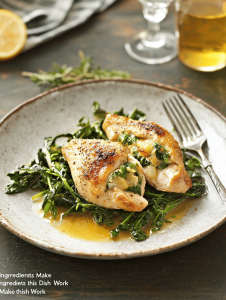
Ingredients that Make this Dish Work
- Chicken breasts:: Lean and tender, but need gentle handling to prevent tearing.
- Cream cheese:: Adds richness and helps bind the filling, melts smoothly.
- Spinach:: Fresh and slightly bitter, balances richness with a leafy crunch.
- Lemon zest:: Brightens the filling with a citrusy pop, essential for freshness.
- Olive oil:: For searing, adds a fruity undertone and keeps the chicken moist.
- Toothpicks:: Hold the stuffed pockets closed during cooking.
- Balsamic glaze:: For drizzling, offers a sweet acidity that complements.
Tools & Equipment for Stuffed Chicken
- Sharp knife: To carefully create pockets in the chicken breasts.
- Skillet: For searing and finishing the chicken in the oven.
- Toothpicks: To secure the stuffed pockets during cooking.
- Baking sheet or oven-proof skillet: To bake the chicken evenly.
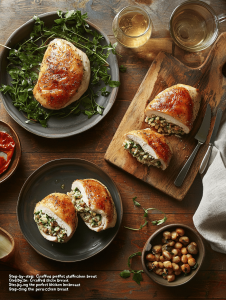
Step-by-step: Crafting the perfect stuffed chicken breast
Step 1: Preheat your oven to 200°C (392°F).
Step 2: Slice a pocket into each chicken breast, careful not to cut all the way through.
Step 3: Mix your filling: cream cheese, chopped spinach, and a hint of lemon zest. Season well.
Step 4: Stuff the mixture into the chicken pockets, then secure with toothpicks.
Step 5: Heat a skillet over medium-high, add olive oil, and sear the breasts for 3-4 minutes each side until golden.
Step 6: Transfer the skillet to the oven, bake for 20-25 minutes until cooked through.
Step 7: Rest the chicken for 5 minutes before slicing to keep juices in.
Step 8: Serve with a drizzle of balsamic glaze or your favorite greens.
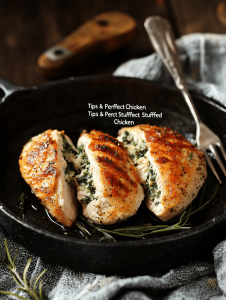
Tips & Tricks for Perfect Stuffed Chicken
- Ensure the chicken pockets are not cut all the way through to keep the filling inside.
- Use a meat thermometer—165°F (74°C) means it’s safely cooked.
- Watch the searing process—burnt chicken tastes bitter, so keep the heat moderate.
- Rest the chicken for at least 5 minutes before slicing to lock in juices.
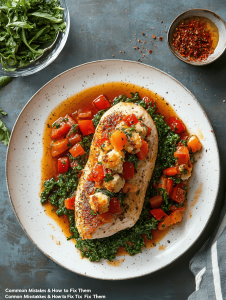
Common Mistakes & How to Fix Them
- Ripping the chicken when creating pockets.? Use a sharp knife to avoid tearing the chicken. Dull blades cause mess.
- Soggy, steamed chicken from overcrowding.? Don’t overcrowd the skillet; cook in batches if needed.
- Undercooked filling or chicken.? Adjust oven time if filling is cold; add extra 5 minutes if needed.
- Serving with toothpicks still in.? Remove toothpicks before serving to avoid choking hazards.
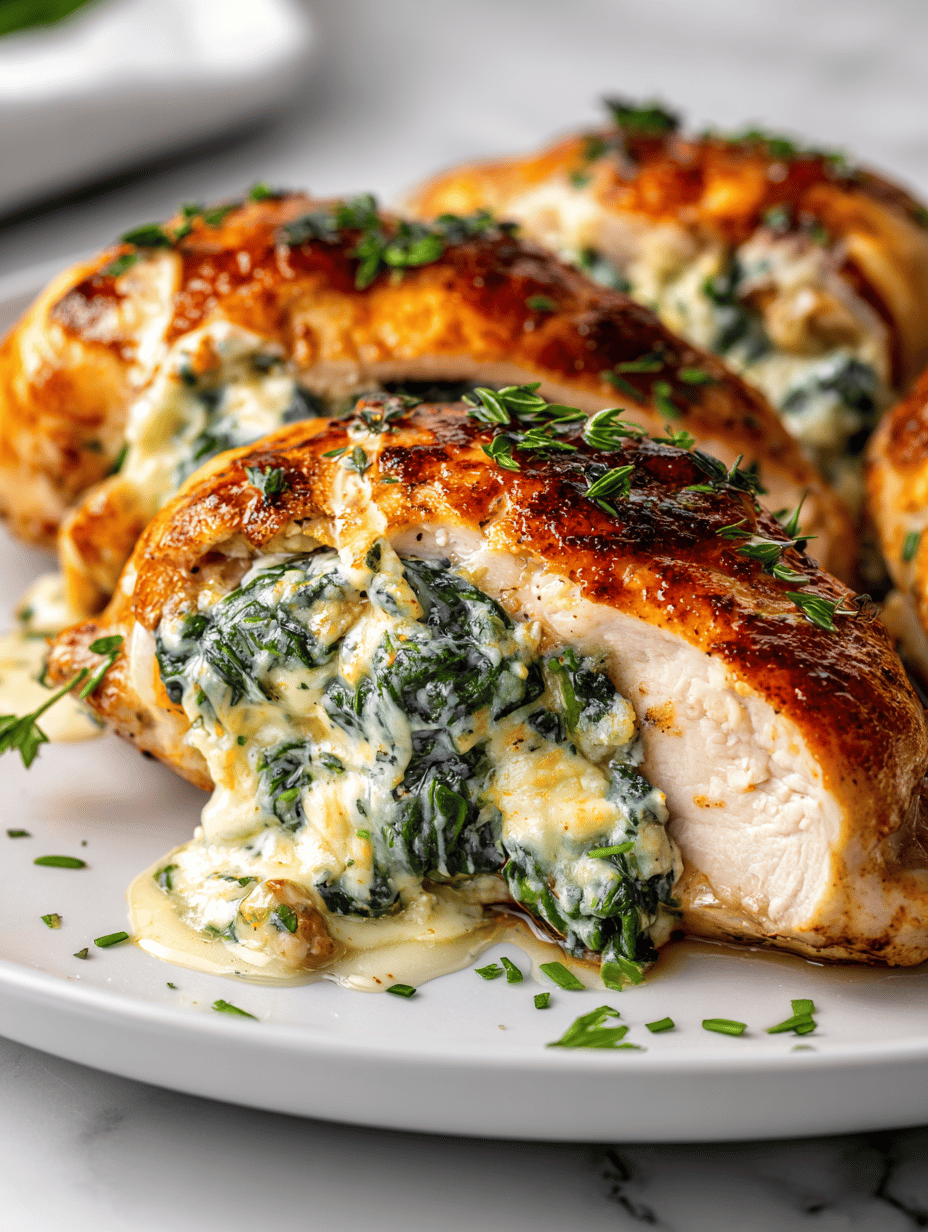
Stuffed Chicken Breasts with Spinach and Cream Cheese
Ingredients
Equipment
Method
- Preheat your oven to 200°C (392°F).
- Use a sharp knife to carefully slice a horizontal pocket into each chicken breast, making sure not to cut all the way through.
- In a small bowl, mix the cream cheese with chopped spinach and lemon zest until well combined. Season with salt and pepper to taste.
- Stuff each chicken pocket with the cheese mixture, pressing gently to fill completely, then secure each with toothpicks to keep the filling inside.
- Heat olive oil in a skillet over medium-high heat until shimmering, then carefully place the stuffed chicken breasts in the pan.
- Sear the chicken for 3-4 minutes on each side, until golden brown and crispy.
- Transfer the skillet to the preheated oven and bake for 20-25 minutes, or until the chicken is cooked through and juices run clear.
- Remove the chicken from the oven and let it rest for 5 minutes; this helps keep the juices locked inside.
- Carefully remove the toothpicks and transfer the stuffed chicken to a serving plate.
- Drizzle with balsamic glaze for a touch of sweetness and acidity, then serve with your favorite greens or sides.
Notes

Hi, I’m Mia Bennett, the chef and storyteller behind Grounding in Tradition. I’m so glad you’re here. This blog is my way of preserving the flavors, techniques, and rituals that shaped me as both a cook and a professional chef. Grounding in Tradition is not about trends or shortcuts. It is about honoring where food comes from, understanding the hands that prepare it, and carrying forward recipes that deserve to be remembered.


Leave a Reply